Work Calendar For Mac Os
Learn how to use iCal in Mac OS. Don't forget to check out our site for more free how-to videos! - our feed - join us on facebook - our group in Google+ In this video tutorial we will show you how to use calendar on Mac. A shortcut for launching iCal is located in your Dock by default. It looks like a tear-off calendar and always displays the current date and month.
You can view your calendar by day, week, month or year. You can sync your Google Calendar with iCal. Go to iCal preferences and select 'Accounts' tab. Add your Google Calendar by entering your e-mail and password.
Now you Google Calendar is synced with iCal. On the left are two buttons -- 'Calendars' and a plus symbol. The Calendars button lets you select the calendars you want to view, while the Plus button helps you quickly create an event. Let's add a new event to a calendar and set its reminder parameters.
To do this, double-click any area in the hour/day grid. After the 'New event' window appears, double-click it and then click 'Edit' in the open window. Now choose a name for the event, then specify the duration or check 'All day'.
Now choose whether you want to be seen as 'Busy' or 'Free' during the event, then select a calendar for the event. Since we're creating an event called 'Business meeting', we'll choose the 'Work' calendar. Now it's time to create a reminder.
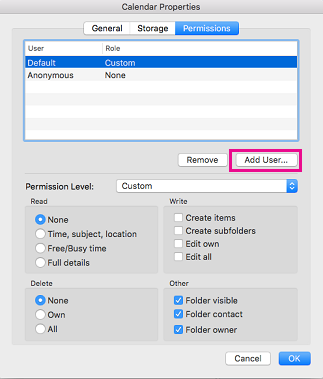
When you have access to multiple shared Calendar folders, you cannot open one or more of the shared Calendar folders in Microsoft Outlook 2016 for Mac or Outlook for Mac 2011. Cause In Outlook 2016 for Mac and Outlook for Mac 2011, you cannot open a shared Calendar folder that is not a sub-calendar of the user's shared default Calendar folder.
Select the reminder type from the 'Alert' popup menu. Choose the time for the reminder. When you're finished making changes, click the 'Done' button.
By iCal is a memory-enhancing tool found in Mac OS X Lion. OS X Lion’s iCal offers multiple color-coded calendars, several types of reminder alerts, repeating event scheduling, and more. You can also organize calendars in groups that contain more than one calendar. To create a new calendar group in iCal, follow these steps: • Choose File→New Calendar Group, press Command+Shift+N, or press Shift; then click the + button in the bottom-left corner of the main iCal window.
A new calendar group named Group is created and added to the calendar list. • Give the new group a name by selecting Group and typing a new name. • To add calendars to the group, simply create a new calendar while the group is selected, or drag existing calendars below the group name in the list. When you release the mouse button, the Personal calendar moves from between the Work and Untitled calendars to below the Family calendar in the Family + Personal group. Now you can show or hide all calendars in the group by selecting or deselecting a single check box. You can still show or hide individual calendars by selecting or deselecting their check boxes, of course. Here’s how you might use this feature in your everyday life.
In the search field, click the magnifying glass, and then click Advanced Search, and then select the Match case check box. Search for exact matches only In the search field, click the magnifying glass, and then click Advanced Search, and then select the Find entire cells only check box. If you want to find a given value in a range, column or row, select that range, column(s) or row(s) before opening Find and Replace in Excel. For example, to limit your search to a specific column, select that column first, and then open the Find and Replace dialog. How to search in excel for mac without opening the find and replace box box.
You could create individual calendars for each member of your family and put all the individual family calendars in a group called Family. Then you could make all the family-member calendars visible or invisible with a single click of the group calendar’s check box.
If you have a MobileMe account, you can publish your calendars and invite others to subscribe to them by choosing Calendar→Publish. The people you invite receive an e-mail inviting them to subscribe to your calendar.