How To Setup Outlook For Mac
How to setup an email signature in Outlook Mac 2011. Install your HTML email signature in no time! Use our signature installer or follow our step-by-step guides to install your email signature in Outlook for Mac 2011. It's never been easier to create a new email signature for Outlook for Mac 2011.
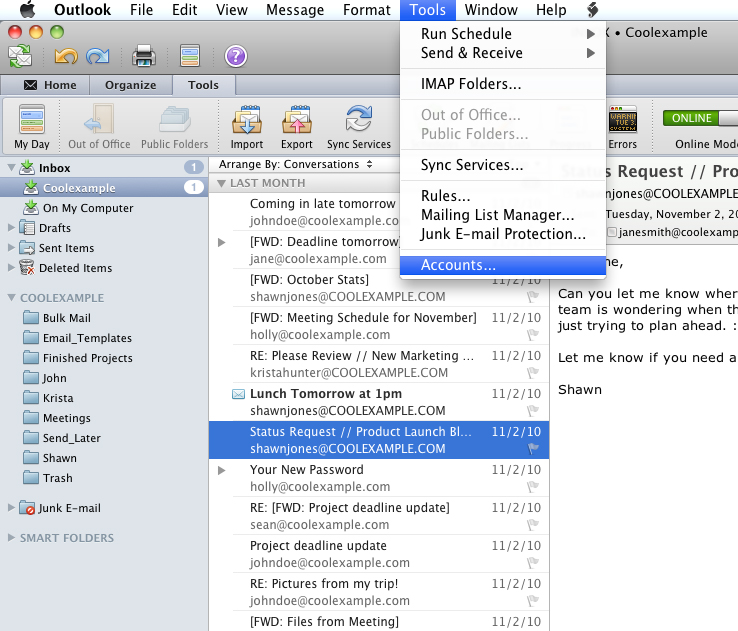
Microsoft Outlook 2016 for the Mac is an email client that lets you compose, read and manage your emails. Adding an email account to the client is a very easy and simple process. If you have just installed the software then it's simply a matter of following the wizard which Microsoft has provided. The tutorial video will walk you through the process with or without the wizard. Click on Outlook in the top menu 2.
Click on Preferences 3. Click on Accounts 4. Click on the plus sign in the button left hand column to Add Account 5. Click Other Email 6. Type in Your Email address 7.
Type in your Email Server information 8. Click on Add Account 9. Verify Certificate (if required) At this point, the addition of the account will be completed.
You will need to close the accounts page in order to access Outlook in general. InMotion Hosting was founded in 2001 and provides personal and business web hosting for everyone! For more information about InMotion Hosting and the services we provide see here.
Gmail’s Web interface is one of the best, but it’s common to use Outlook to sync email and calendars as well, especially at work. And while Gmail is notoriously unfriendly with email clients like Outlook, with a few tweaks the two can play nicely with one another. How to scan mac hd for malware on windows 7. Here’s how to set up your Gmail account in Outlook 2011 for Mac. Note: If you’re setting up Outlook 2011 for the first time, the Accounts screen will load automatically and you can skip to Step 2 below. Otherwise, start with Step 1. Check Your Gmail Settings Before you start in Outlook, check your Gmail settings. • Log in to Gmail and click the gear icon, then click Settings.
• On the Settings screen, click the Forwarding and POP/IMAP tab. Make sure IMAP is enabled. For added security, turn off POP as well. • Click Save Changes. • Click the Labels tab and uncheck the Show in IMAP checkboxes for both Important and Chats.
Outlook shows Gmail labels as folders, so unchecking these boxes will help things look right in Outlook. (For more information, see the note on labels at the bottom of this post.) • Click the General tab and click Save Changes. Duplicate contacts killing your productivity? See how Scrubly can help in this.
Add an Account • Open Outlook 2011 and click the Outlook > Preferences. • Select the Accounts icon. If you have any accounts currently added to Outlook they will show here.

Otherwise, it will show as empty. • Click the icon next to E-mail Account. • Enter your Gmail address and password, and leave the Configure automatically box checked. • Click the Add Account button. Outlook will attempt to find the server information for you.
As long as Outlook is able to find the server information (and with Gmail it always should), your window should look something like the screenshot below. • Fill out the “Account description” and “Full name” fields. If the light next to the account name on the left side menu is green, everything is working and you’re all done! When you’re using a Gmail account there’s no reason Outlook shouldn’t find this information easily. If you do run into any issues, though, check out on getting Gmail set up in Outlook 2011. Note on Labels If you see any errant folders in Outlook, you can remove them by hiding them from IMAP in the Labels section of Gmail’s Settings page.
Remember that while you see them as folders, Gmail considers them labels. Whatsapp for mac doesnot see iphone. Because of this difference, if you use multiple labels on a single email you may get duplication of messages on your computer. But unless you’re dealing with a huge amount of emails, you probably won’t even notice.